Adding Mapping Schedule
This topic describes how to add a mapping schedule to a company. A mapping schedule lets you set when you want the data import or export to happen.
- On the ShipExec Management Studio home page, click Companies.
- From the Companies page, do one of the following:
- To add a mapping schedule at the company level, click the
 icon for the company for which you want to add a mapping schedule.
- To add a mapping schedule at the site level, click the icon for the company, then click the Sites tab, and then click the icon for the site for which you want to add a mapping schedule.
- To add a mapping schedule at the company level, click the
- Click the Data Management tab and select Mapping Schedule. The Add Schedule page displays.
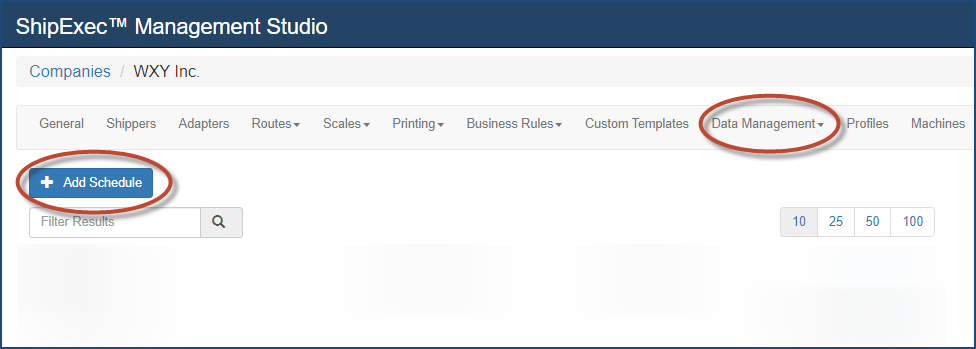
- Click Add Schedule.The Add/Update Schedule dialog box displays.
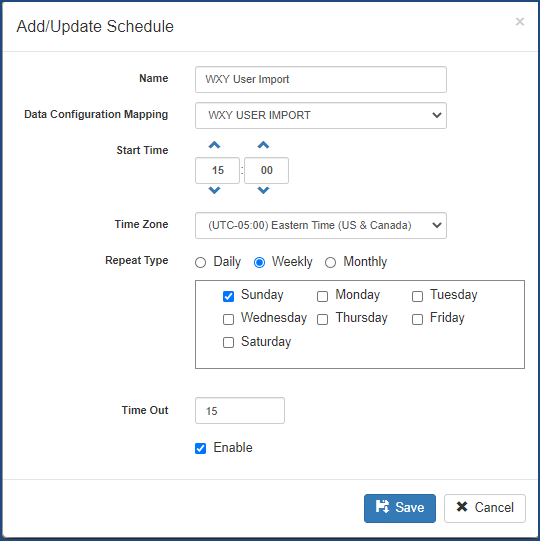
- Type the schedule name in the Name box.
- From the Data Configuration Mapping drop-down list, select the data configuration mapping
 Data configuration mapping lets you set the action to be performed for a scheduled event. you want.
 - Enter the mapping schedule starting time in the Start Time boxes.
- Select the appropriate time zone from the Time Zone drop-down list.
- Use the Repeat Type option buttons and check boxes to select the mapping schedule frequency.
- Enter the timeout minutes in the Time Out box.
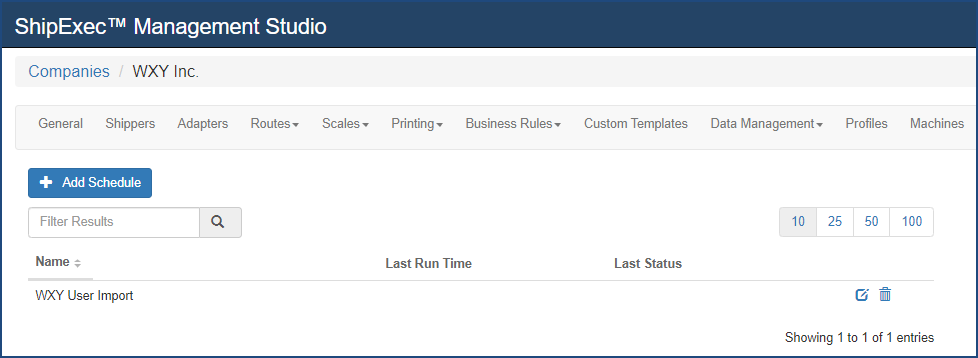
- Click Save. The Mapping Schedule page displays.
Note: Select the Enable check box if you want to enable the schedule; otherwise, if you leave it blank, the mapping schedule will not run.
Related Topics