Adding Profiles
This topic describes how to add a profile to a company. Profiles allow you to configure the user experience within the ShipExec Thin Client.
- On the ShipExec Management Studio home page, click Companies.
- From the Companies page, do one of the following:
- To add a profile at the company level, click the
 icon for the company to which you want to add a profile.
- To add a profile at the site level, click the icon for the company, then click the Sites tab, and then click the icon for the site for which you want to add a profile.
- To add a profile at the company level, click the
- Click the Profiles tab.
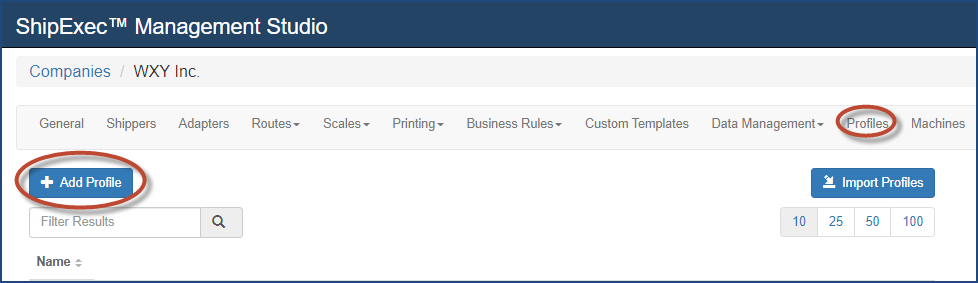
- Click Add Profile.
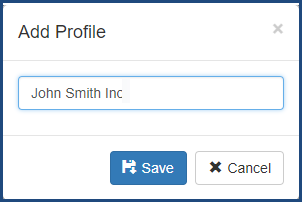
- Type the name of the profile and click Save. The saved profile displays.
Note: It’s important to keep a good profile naming convention. Profiles are used at the Company, Machine, Site, and User levels, and can create confusion if not managed well.
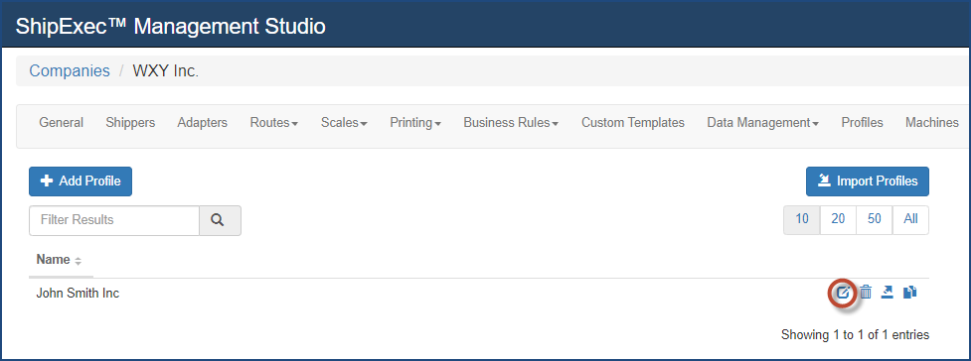
- Click the icon to see the details.
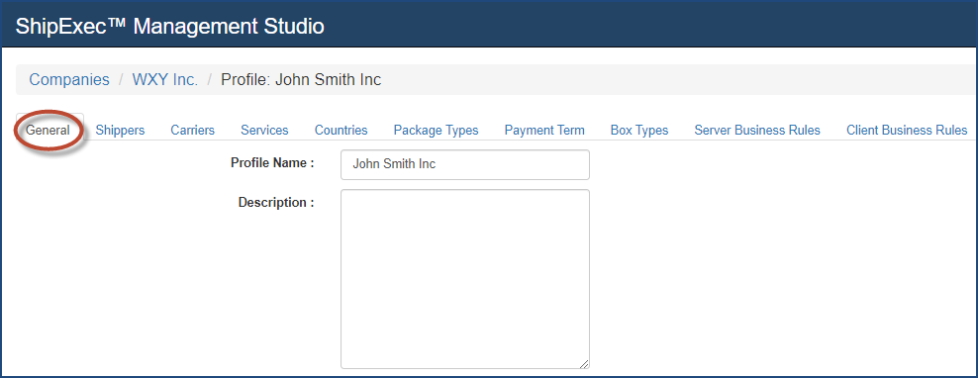
- Click the General tab.
- In Description, type the profile’s description.
- Click the Shippers tab.
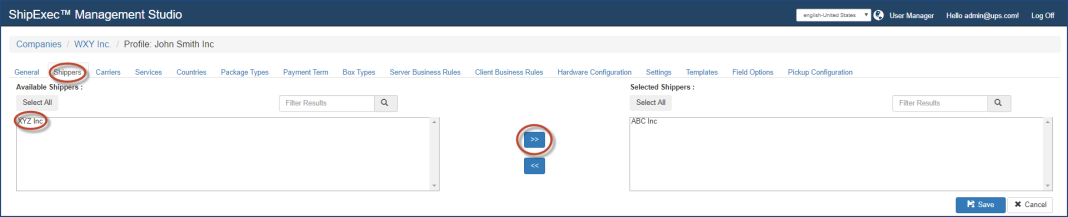
- In the Available Shippers panel, click the shipper you want to add to this profile, then click the
 icon to move the shipper to the Selected Shippers panel.
 - Click the Carriers tab.
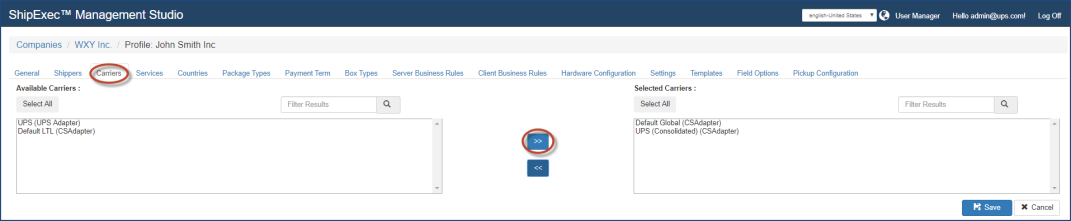
- In the Available Carriers panel, select the carrier(s) you want to add to this profile, then click the icon to move the carriers to the Selected Carriers panel.
- Click the Services tab.
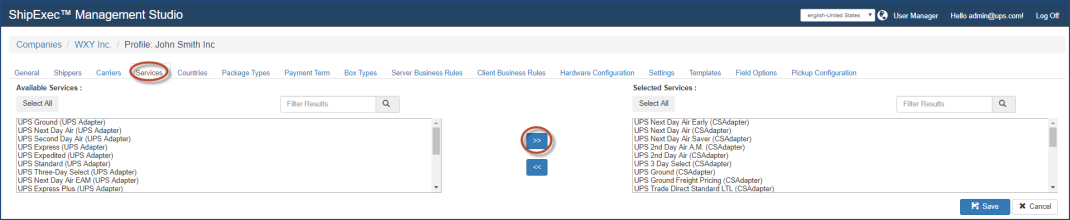
- In the Available Services panel, select the service(s) you want to add to this profile, then click the icon to move the service to the Selected Services panel.
Note: The Services you move to the right panel are the ones that will appear in the Thin Client.
- Click the Countries tab.

- In the Available Countries panel, select the countries you want to add to this profile, then click the icon to move the countries to the Selected Countries panel.
- Click the Package Types tab.
- In the Available Package Types panel, select the package type(s) you want to add to this profile, then click the icon to move the package types to the Selected Package Types panel. (Note: Use the up and down arrows to rearrange the package types hierarchy. Click the icon to update the package type with a custom name.)
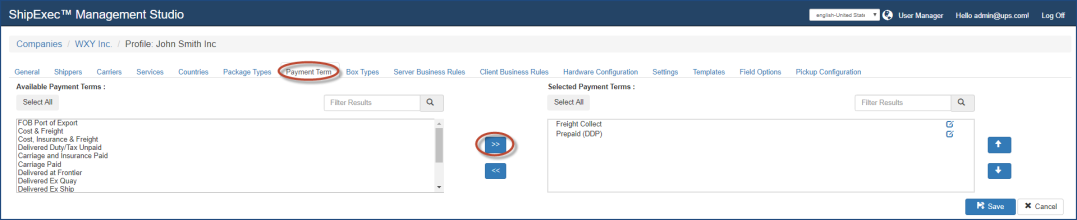
- Click the Payment Term tab.
- In the Available Payment Terms panel, select the payment term(s) you want to add to this profile, then click the icon to move the payment terms to the Selected Payment Terms panel. (Note: Use the up and down arrows to rearrange the payment terms hierarchy. Click the icon to update the payment terms with a custom name.)
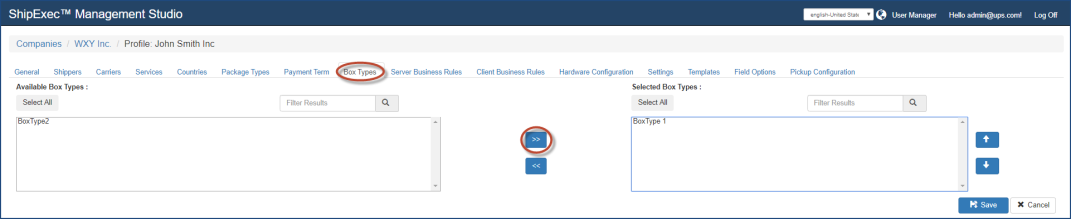
- Click the Box Types tab.
- In the Available Box Types panel, select the box type you want to add to this profile, then click the icon to move the box type to the Selected Box Types panel. (Note: Use the up and down arrows to rearrange the box types hierarchy.)
- Click the Server Business Rules tab.

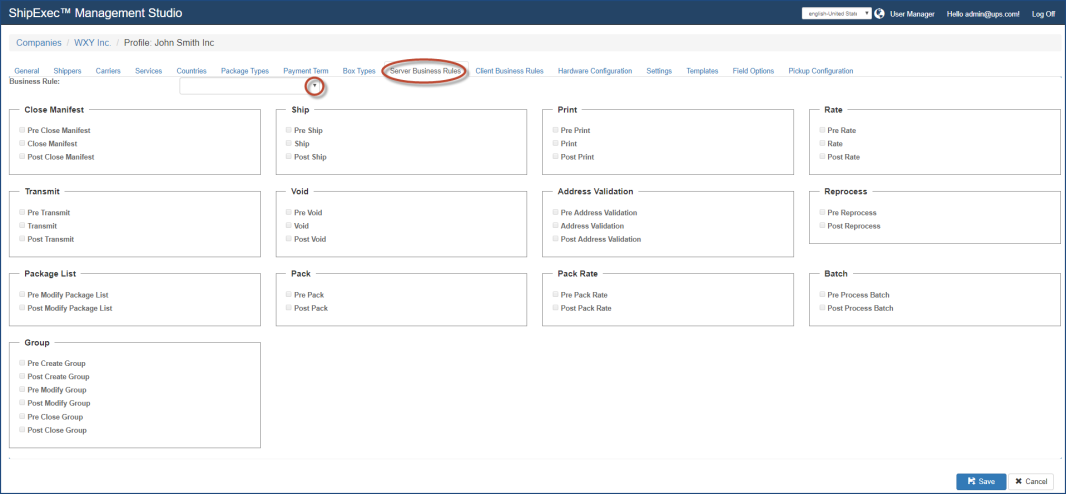
- From the Business Rules drop-down list, select the business rule you want to assign to this profile.
- Select the check boxes for each business rule you want to assign to this profile.
Note: There are several business rules that are always selected but are not visible on this list.
- Click the Client Business Rules tab.
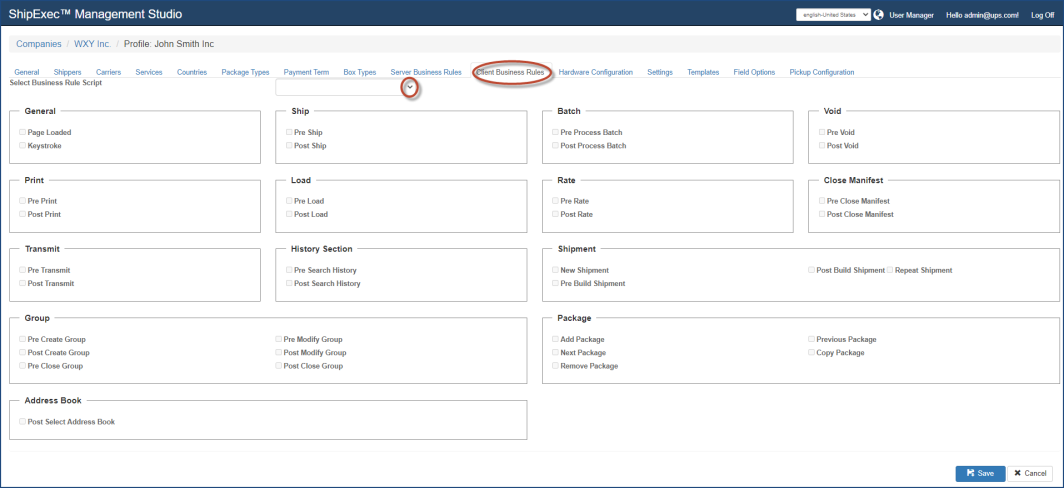
- From the Select Business Rules Script drop-down list, select the business rule script you want to assign to this profile.
- Select the check boxes for each business rule you want to assign to this profile.
- Click the Hardware Configuration tab.

- From the Document Configuration drop-down list, select the document configuration you want to assign to this profile.
- From the Printer Configuration drop-down list, select the printer configuration you want to assign to this profile.
- From the Scale Configuration drop-down list, select the scale configuration you want to assign to this profile.
- Click the Settings tab.
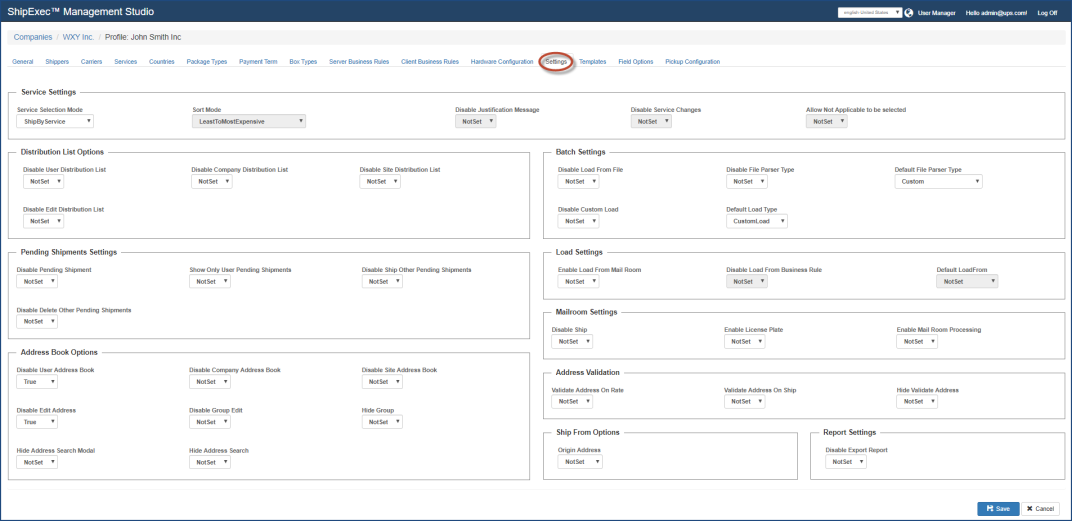
- In the Service Settings panel, select the service you want from the Service Selection Mode drop-down list:
- Ship by Service - Lets you select your shipping services. This is the default.
- Ship by Date - ShipExec automatically determines the ideal service that will deliver your package on the desired date. The services option will not be available to you.
- Rate Quote Shipping - Lets you select your service based on ranking, cost, and delivery speed.
- Priority Shipping - Lets you select your priority based on ranking, cost, and delivery speed.
- Not Set - This profile will not be setting this option. You will have to set up the Service Selection Mode in another profile.
- Sort Mode - For some Service Selection Modes, you will need to select the sort mode from the drop-down list.
- Select the remaining Service Selection Mode settings to either True, False, or Not Set.
- In the Distribution List Options panel, select the disable options you want from the drop-down lists.
- In the Pending Shipments Settings panel, select the options you want from the drop-down lists.
- In the Address Book Options panel, select the options you want from the drop-down lists.
- In the Batch Settings panel, select the disable options you want from the drop-down lists, then select the appropriate Default File Parser Type, and then select the Default Load Type.
- In the Load Settings panel, select the options you want from the drop-down lists.
- In the Mailroom
 A desktop shipper creates a license plate and takes the package to the mailroom clerk. The mailroom clerk scans the license plate and pulls up the shipment in the system. The clerk generates a new label, prints it, and attachs it to the package for shipment. Settings panel, select the options you want from the drop-down lists.
 - In the Address Validation panel, select the address options you want from the drop-down lists.
- In the Ship From Options panel, select where the origin address is coming from.
- In the Report Settings panel, select the disable option you want from the drop-down list.
- In the Shipment option panel, select the option you want from the drop-down list.
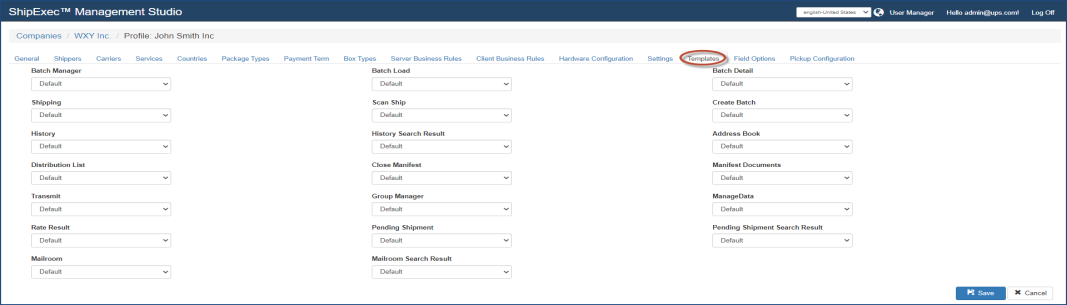
- Click the Templates tab.
- Select the template options you want from the drop-down lists.
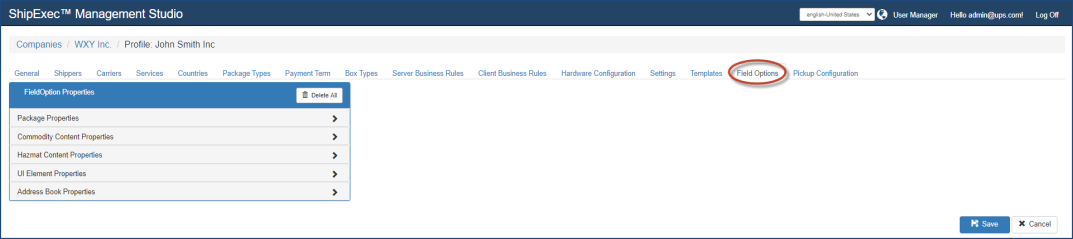
- Click the Field Options tab.
- Click the field option properties you want added to this profile. You must click the Add to Profile button for each field to ensure the properties are added.
- Click the Pickup Configuration tab and add your pickup configuration.
- Click Save. You have completed configuring your profile.
Related Topics