Adding a UPS Adapter Registration
This topic describes how to add a UPS Adapter to the Management Studio. The UPS Adapter provides a simple way of connecting to the UPS Shipping API. The UPS Adapter is set up based on your shipping requirements.
- On the ShipExec Management Studio home page, click Companies. The Companies page displays.
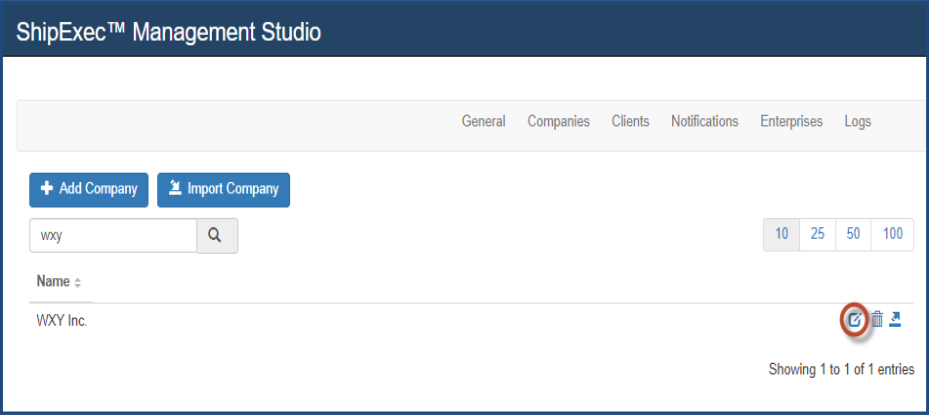
- Click the
 icon for the company to which you want to add a UPS Adapter. The Company Information page displays.
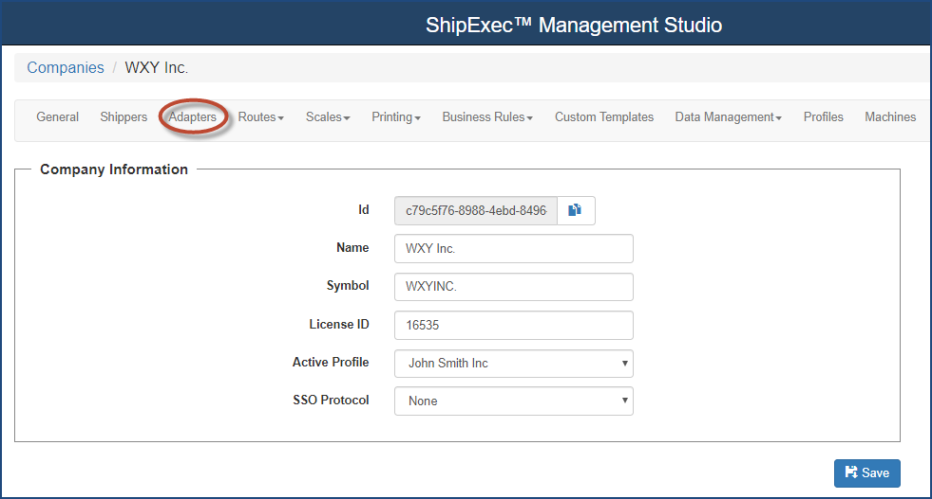
- Click the Adapters tab. The Add Adapter page displays.
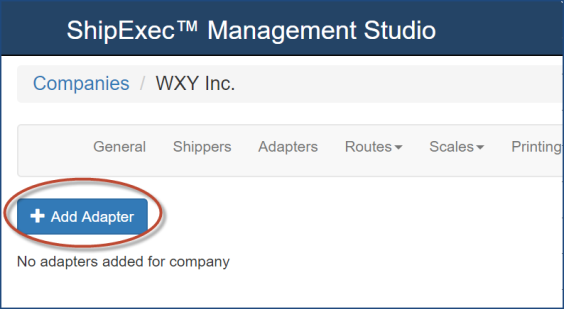
- Click Add Adapter. The Add Adapter dialog box displays.

- Select UPS Adapter from the drop-down list.
- Click Save. The UPS Adapter page displays.
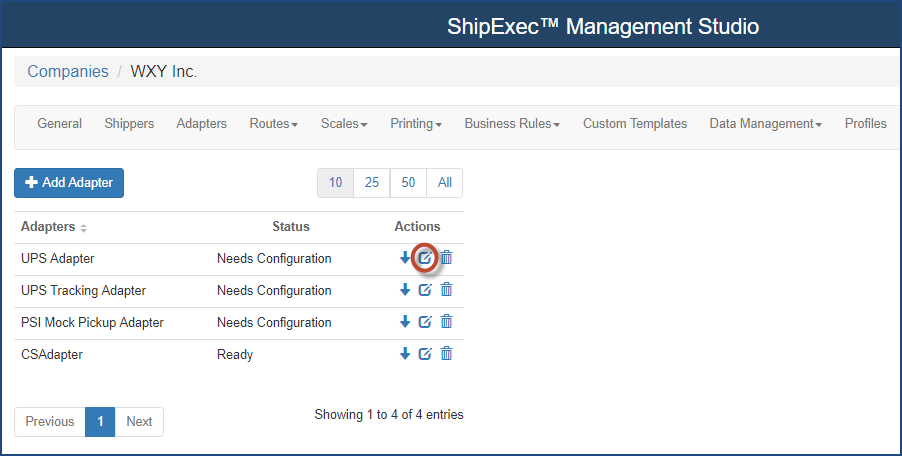
- Click the
 icon to modify the adapter. The Edit UPS Adapter dialog box displays.

- Configure the Production and Test URIs.
- Click the Mappings tab. The Mappings dialog box displays.

- Select the shipper from the ShipExec Shipper drop-down list.
- Select the adapter shipper from the Adapter Shipper drop-down list.
- Click Add Shipper Mapping. The Edit UPS Adapter dialog box displays.
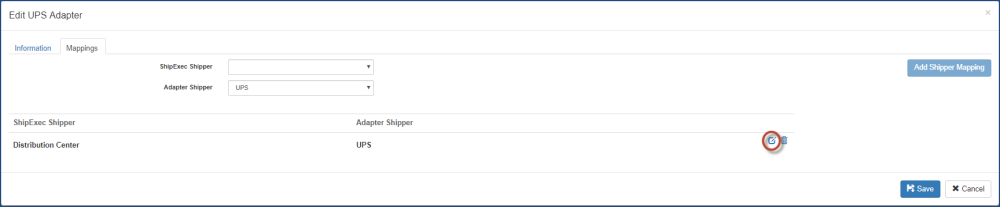
- Click the
 icon to edit the shipper information. The Edit Shipper Mapping page displays.
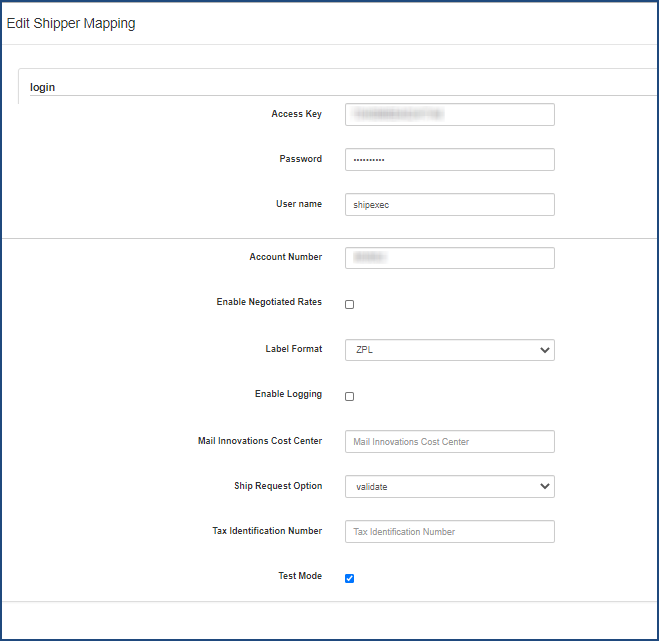
- Enter the mapping information in the provided boxes.
- Click Save.
- If necessary, repeat steps 10 - 15 for additional shippers.
- Click Save. Management Studio displays a Ready status.

- Click the
 icon to update the adapter information. The Adapter Information Updated Successfully message displays at the bottom of the page.
Related Topics
Adding a CS Adapter Registration
Adding a UPS Tracking Adapter Registration